We don’t have a well (nor will we ever), all garden water has to be collected (from our shed roofs – more about that another time) and stored for later use, so I have been experimenting with water saving techniques.
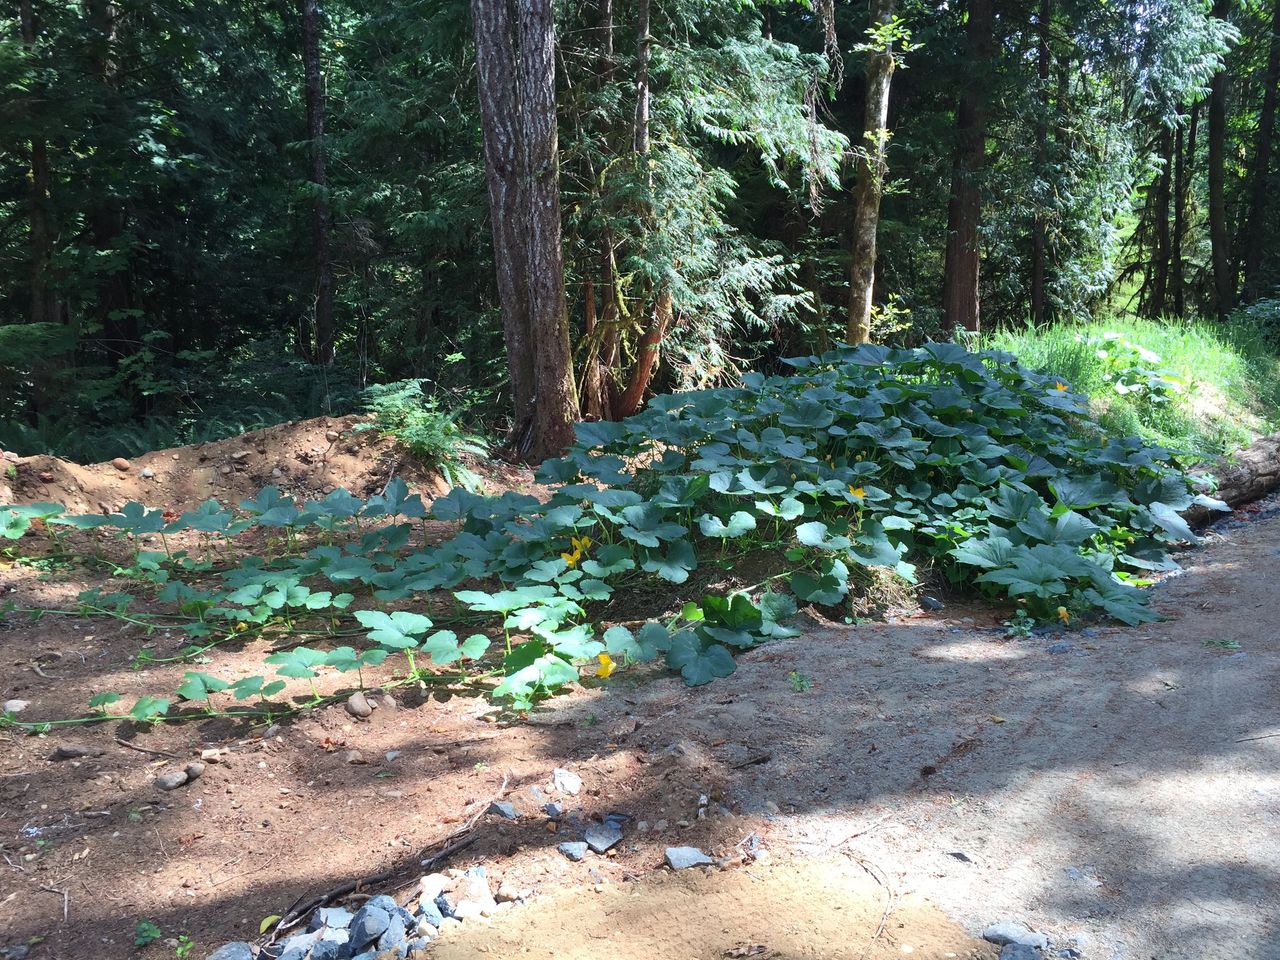
A hugel (rhymes with Google) is basically building a lasagna garden in a ditch. Just keep adding layers of natural materials until you have reached the height you’re aiming for. When I was stressing about the number of layers and the thickness of each layer (trying to do it perfectly…) a fellow permaculturist told me to RELAX… just keep adding natural materials. The goal is to build soil!
Of course… sometimes I don’t really know when to stop… so when we were clearing the sawmill site I thought it was the perfect opportunity to build my first hugel. It ended up being 6’ wide, 79’ long and 5’ high. There is no need to go quite that wild. I have others that basically just look like mounds – about a foot or two above ground level.
Why build a hugel?
There are a couple of real benefits of building hugel garden beds. Specifically, a longer growing season and for water conservation.
Let me explain – you’re growing on a glorified compost pile so the soil is warm which means you can plant a little earlier and keep them in the ground a little longer. It’s not uncommon to extend your growing season by 3-4 weeks.
Basic steps:
1. Dig a trench (typically 1-3’ deep, 3-6’ wide and then build as high as 10’).
2. Angle the sides of the trench so the winter rain will run into the bottom of the trench.
3. Line the bottom of the trench with tree debris (stumps, trunks).
4. Cover the debris with tree fluff (branches, bark, leaves – anything that is left behind when cleaning up a tree after it has blown over, or it has been removed in clearing). It is ok to add dirt/soil if you have it to fill in the gaps between the tree debris.
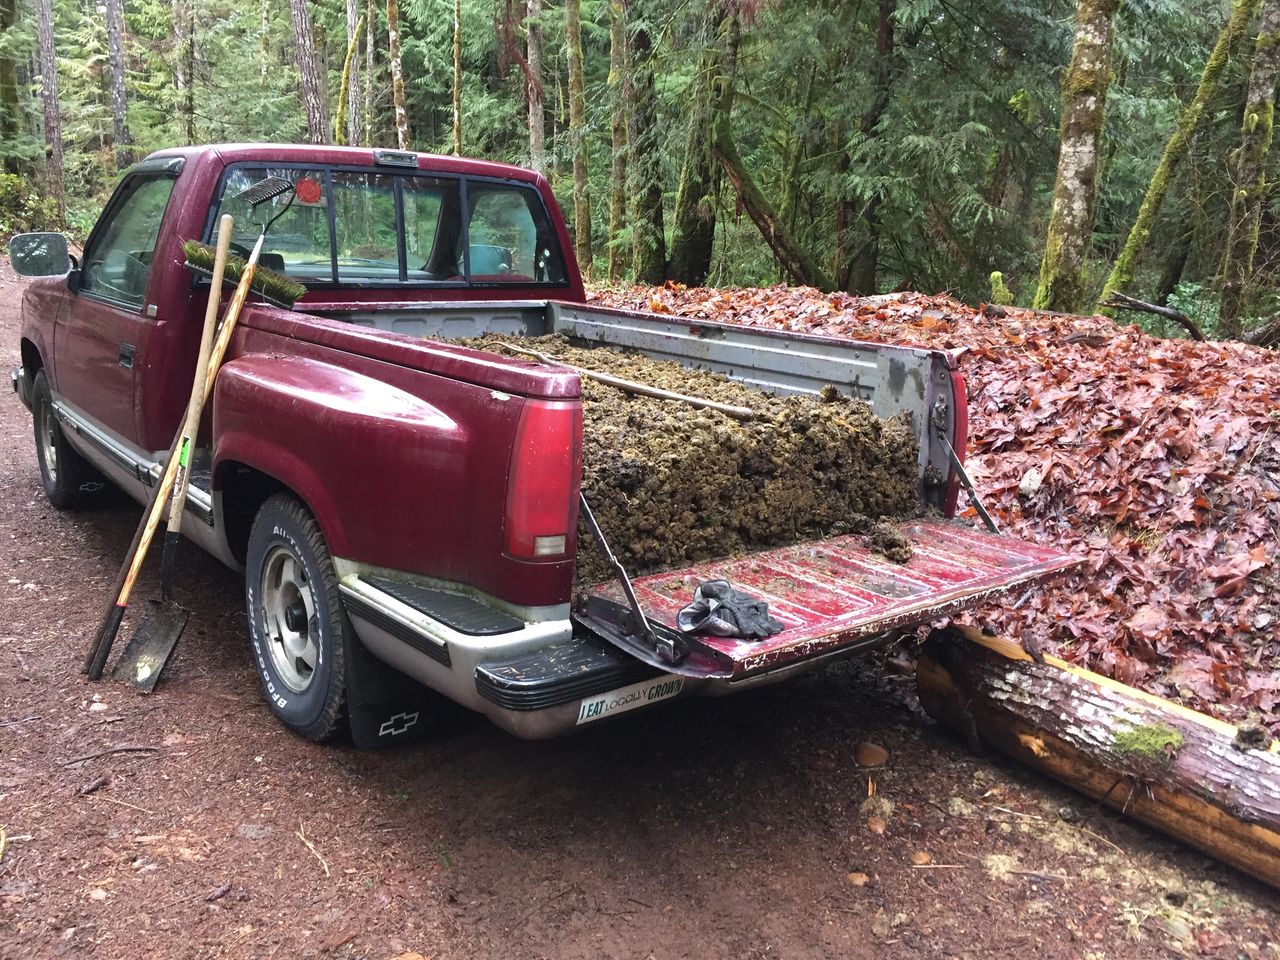
5. Now, build alternating layers (usually 4-6” – well except the cardboard and the kelp)
· dirt (don’t worry if there are small – even medium sized rocks)
· horse manure (or any other manure you have handy/free)
· cardboard (brown, no staples or glue/tape)
· compost
· leaves
· sawdust
· grass clippings
· kelp
· shredded paper
· use your imagination
6. Water lightly between the layers
7. Keep building your layers (green then brown) until the garden bed is the height you would like. For some people the depth of each layer is crucial. For me… not so much.
8. Finish with a layer of topsoil (4-6”) deep.
9. Plant
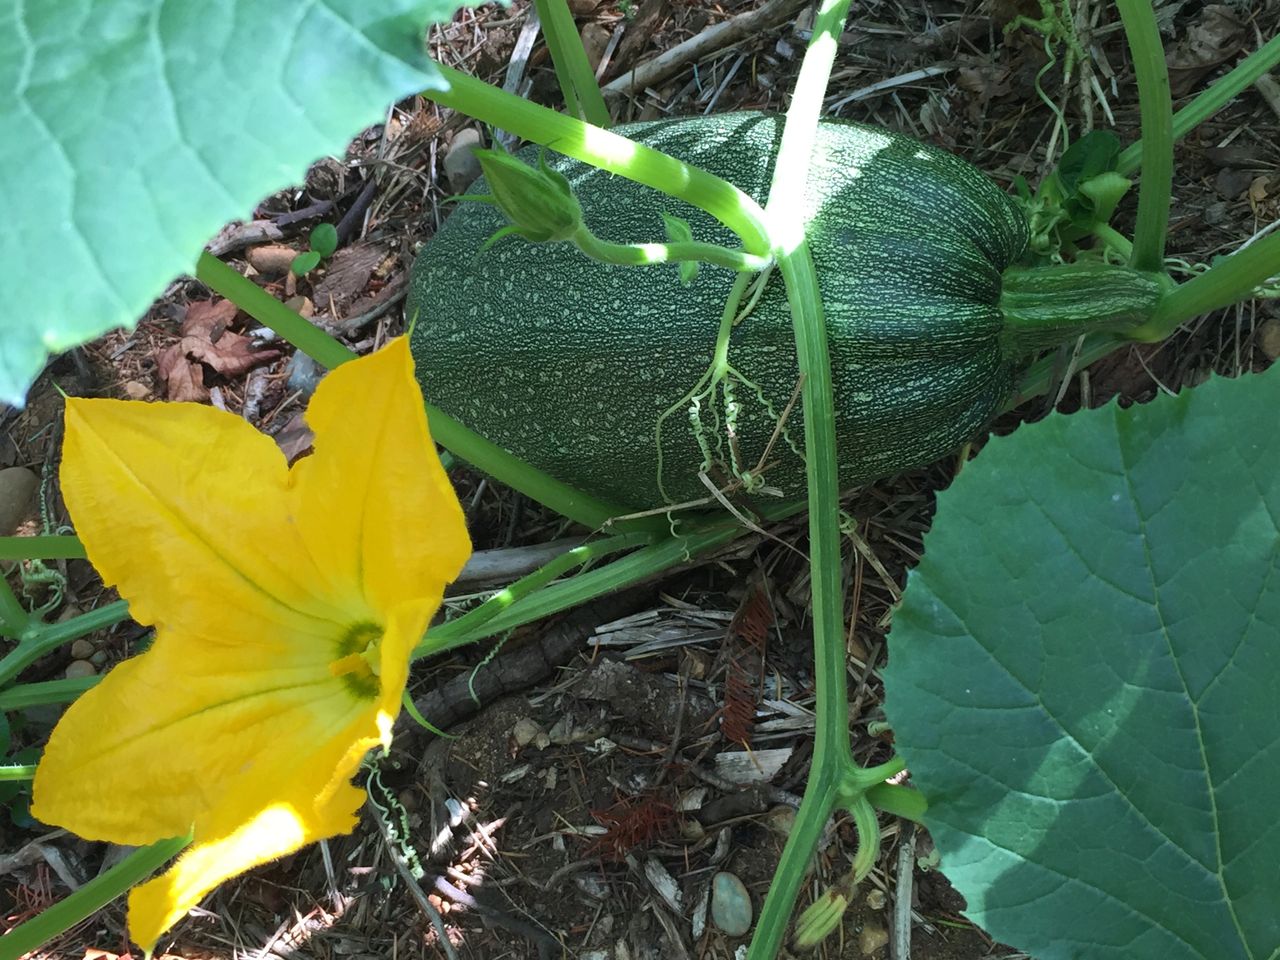
10. Mulch (sawdust, leaves)
Water conservation is near and dear to my heart. The thing I really love about hugels is how little water they require. When I plant my seedlings, I plunk into the ground right beside the seedling an inverted wine bottle filled with water. I refill the bottle once a week.
Why a wine bottle? Well…. We use them as a building material, people give them to us and we’ve even been known to empty one or two by ourselves – so they are cheap, easy to use and readily available. They seem to hold just about the right amount of water for a week. After about 4, sometimes 5 weeks, I stop watering. Yes, completely stop…
Why does it work?
You have basically built a water battery. The winter rains will fill your battery and the soil and tree debris will release the water over the dry season.
Try it!